
What is Homebrew?
Homebrew is a package management application for MacOS and Linux. Released in 2009, it was intended to simplify the installation of third-party software on MacOS. Over the years, Homebrew gained its popularity through its extensibility and ease of use.
Why Homebrew?
Package managers provide a way to automatically compile, install, upgrade, configure and remove software. On Linux, users who wish to use a package manager can choose between a wide array of options such as apt, yum, flatpak, and many more. However, the same could not be said on MacOS. MacOS does not come with a default package manager by default and users have to manually update their software one at a time.
This is where Homebrew comes in, Homebrew is a open-source third party package manager that fills this gap in the MacOS operating system. With Homebrew, users can manage their software effortlessly and painlessly.
How do I install Homebrew?
To install Homebrew, go to the Homebrew official website.
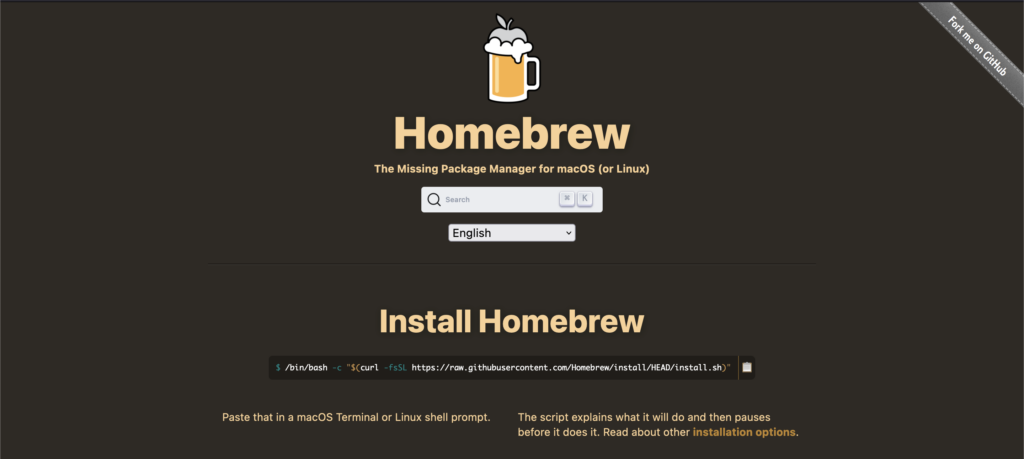
Under the “Install Homebrew” section, copy the command and past it into your MacOS terminal.

Run the command, and the installation process will begin.
How do I use Homebrew?
To install a package, simply run:
brew install package_nameTo remove a package, run:
brew remove package_nameTo upgrade all packages, run:
brew upgradeAnd finally, to search for a package, run:
brew search package_nameFor example, an user who wish to upgrade all packages, remove the package openssh, install the package wget, and search for the package gcc will run
brew upgrade
brew remove openssh
brew install wget
brew search gcc
For a more detailed guide, run:
man brew
Leave a Reply